
Address
Building 34, Taixing Industrial Zone, Hongxing Community, Songgang Street, Bao’an District, Shenzhen, Guangdong 518105, China



Car AC Expansion Valve Replacement: When and How to Do It Safely
By C-Loong Precision Industry (Shenzhen) Co., Ltd
When a car’s A/C starts cold but gradually turns warm, or cools for a while and then fades, it is tempting to focus immediately on the compressor or refrigerant charge. The same pattern, however, can come from different parts of the A/C system, so replacing a component too early can leave the original problem unresolved. On a vehicle that uses an expansion valve, car AC expansion valve replacement becomes the right repair only when diagnosis links the fault to that valve rather than to another condition with similar symptoms. Making that distinction before the system is opened helps avoid an unnecessary repair and makes it possible to identify the correct replacement valve. This guide follows that decision from diagnosis and part matching through preparation, replacement and final checks.
Page Contents
Product Categories
What Does an A/C Expansion Valve Do in the System?
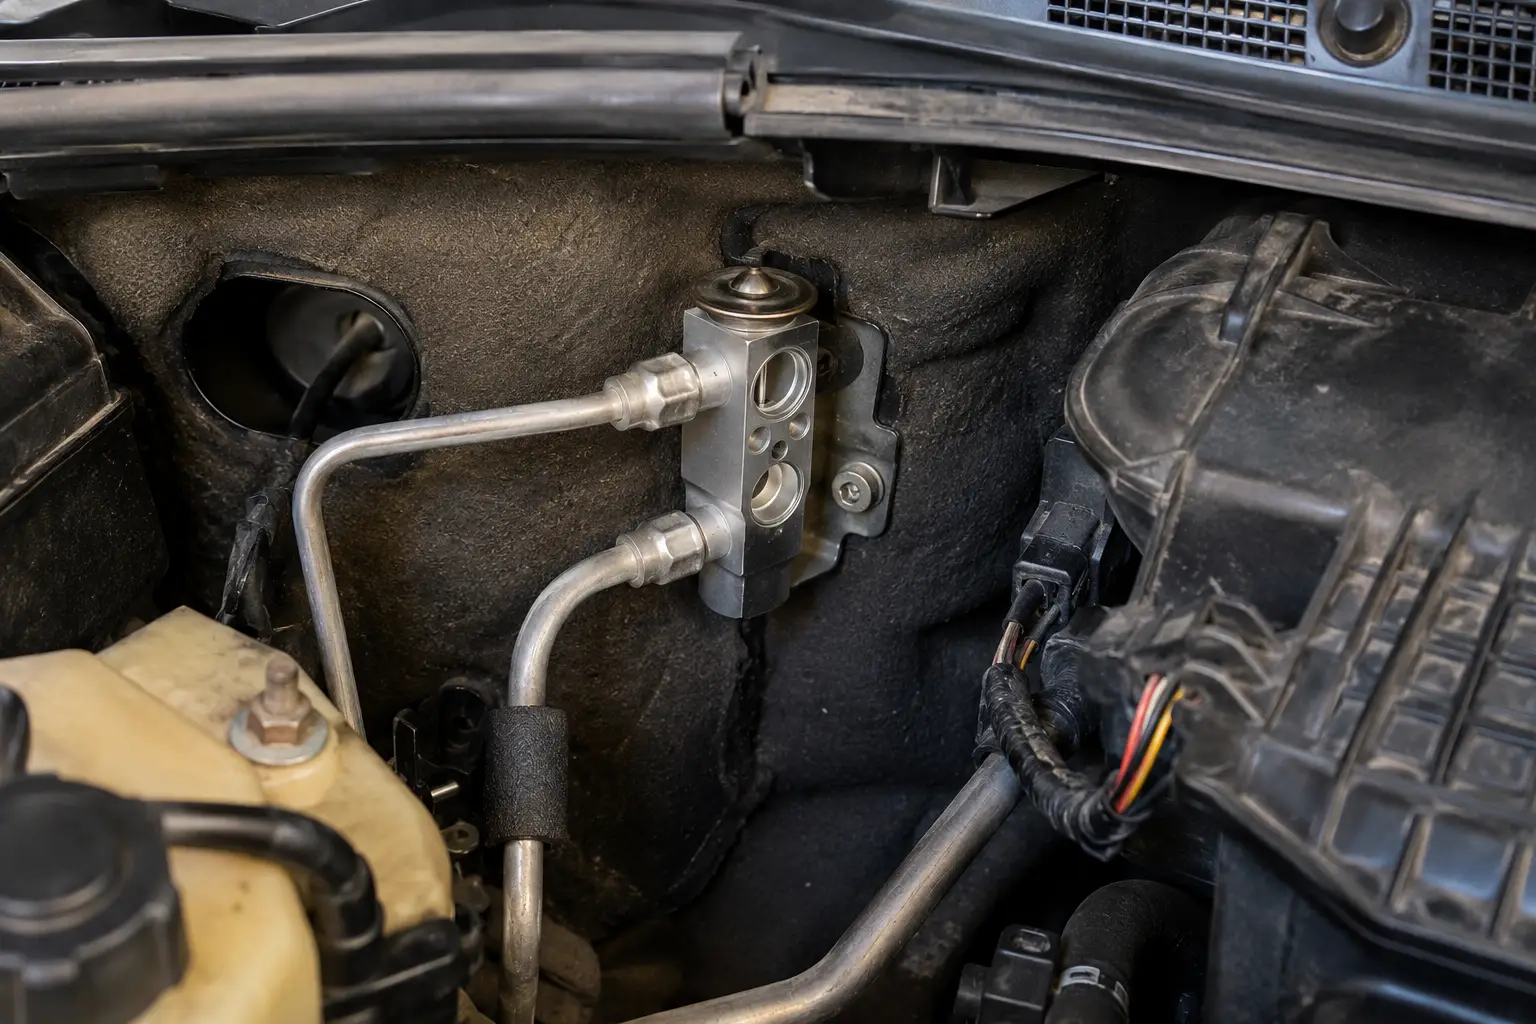
In an A/C system designed with an expansion valve, the refrigerant circuit has two functional pressure zones: a high-pressure side leading from the compressor to the expansion valve, and a low-pressure side returning from the valve to the compressor. The expansion valve sits between these two zones.
At this point, the valve meters high-pressure liquid refrigerant from the condenser into the evaporator and reduces its pressure. The refrigerant can then evaporate inside the evaporator and absorb heat from the air entering the cabin. In thermostatic expansion-valve designs, the valve also adjusts refrigerant flow in response to cooling load.
This does not mean that the valve alone determines whether the A/C system cools correctly. Refrigerant charge, condenser airflow, compressor performance, circuit restrictions and control-related faults can create similar results. Car A/C expansion valve replacement should therefore begin only when the available evidence identifies the valve as the relevant repair direction, rather than treating a pressure or temperature reading from another vehicle as a universal standard.
When an Expansion Valve Can Be Replaced on Its Own
An expansion valve is a relatively small part, but replacing it is not automatically a small repair. A valve-only repair can make sense when the vehicle uses a separately serviceable expansion valve, the fault has been traced to that part, and nothing in the refrigerant circuit suggests that the work needs to extend further.
In a system designed with an expansion valve, the valve controls how refrigerant enters the evaporator. If that metering function is the confirmed source of the problem, replacing the valve may address the repair without treating the job as a complete compressor replacement. DENSO’s expansion-valve overview explains this role within the refrigerant circuit.
The decision changes when the condition of the system points beyond the valve itself. Evidence of a major compressor failure, contamination, or another unresolved circuit problem means that fitting a new valve alone may not address the reason the A/C system stopped working as intended. The repair scope should then be established before any replacement part is installed.
So the question is not simply whether an expansion valve can be removed and fitted. It is whether the valve is the repairable fault and whether the rest of the system still supports a valve-only repair. Once that direction is clear, the next step is to confirm the information needed before the refrigerant circuit is opened.
What Else Needs to Be Prepared Before Replacing the Expansion Valve?
Once the expansion valve has been confirmed as the repair direction, the replacement should not begin with removing parts. First make sure the work can be completed with the correct valve, the correct sealing components and the information required for that vehicle.
Compare the replacement valve with the original part before the refrigerant circuit is opened. Check the available OE or reference number, visible markings, connection or block arrangement, port positions and any dimensions needed to separate similar designs. Vehicle and engine information can help narrow the search, but the original valve should remain the main reference when the available details do not fully agree.
The vehicle also needs an approved repair path. Confirm where the valve is located, what must be removed to reach it, which seals are specified, which oil is compatible with the system, and what refrigerant the vehicle uses. These details vary by application, so a familiar-looking valve, seal or oil should not be assumed to be correct for another vehicle.
Because replacing an expansion valve can require opening the refrigerant circuit, the refrigerant must be recovered before the connections are opened. In the United States, paid MVAC servicing requires a Section 609-certified technician and approved refrigerant-handling equipment. Intentional refrigerant venting is prohibited under Clean Air Act Section 608. Outside the United States, follow the rules that apply where the vehicle is serviced.
For a hybrid or electric vehicle with an electrically driven compressor, stop if the approved high-voltage procedure, oil compatibility or required technician authorization is unclear. Do not treat a standard belt-driven A/C procedure as interchangeable with an electrically driven compressor system.
When the valve, seals, refrigerant requirements, access method and safety conditions are clear, the replacement can move from preparation to the vehicle-specific work itself.
What Does the Replacement Involve on This Vehicle?
Replacing an expansion valve is not the same on every vehicle. On some systems the valve can be reached from the engine compartment; on others, it is positioned at the evaporator housing and requires more access work before the valve can be reached. The aim is not to follow a generic removal sequence, but to carry out the work around the vehicle’s actual A/C design.
Find the Valve by the Vehicle’s Design
Start with the repair information for the vehicle and confirm where the valve is located, which components must be moved, and how the refrigerant lines connect to it. Four Seasons’ note on valve access shows why this matters: some valve designs are comparatively accessible, while others are positioned inside the evaporator housing.
If the valve location, required access work or connection layout differs from the available information, pause before dismantling further. A different layout may mean that the original part information or repair direction needs to be checked again.
Protect the Circuit Once It Is Opened
After the refrigerant has been recovered as required, disconnect the valve and refrigerant lines carefully. Protect open connections as soon as they are separated so that dirt and moisture do not enter the circuit.
The old valve can also provide useful information at this stage. Look for visible debris, damaged sealing surfaces or other signs that may affect the planned repair. If the removed parts suggest contamination or a wider component problem, do not continue as though the job is still a simple valve-only replacement.
Fit the New Valve Without Forcing the Connections
Compare the replacement valve with the original part once more before installation. The ports, connection pattern and mounting arrangement should correspond naturally. Clean and inspect the sealing surfaces, then use the new sealing components, compatible oil and tightening requirements specified for that vehicle.
Do not force a line into place or tighten a connection that does not seat correctly. A connection that will not align can indicate a wrong valve, a different A/C configuration or a damaged mating surface. Stopping at this point is safer than creating a refrigerant leak or damaging the new part.
Restore the Circuit Before Testing the Result
Once the valve and connections have been installed correctly, complete the vehicle-specific process for integrity or leak testing, evacuation and refrigerant charging. Use the refrigerant type and quantity specified for that vehicle, not a general value taken from another application.
Only after the circuit has been restored correctly should the system move to its final performance check. The next stage is not simply to see whether cold air appears, but to confirm whether the original A/C problem has been resolved under the conditions in which it first occurred.
How Do You Identify the Correct Replacement Expansion Valve?
Vehicle make, model, year and engine information are useful starting points, but they may not identify one unique expansion valve. A vehicle can have different A/C configurations, market versions, compressor arrangements or connection designs.
Begin with the original valve and the vehicle’s available identification data. Record the OE or reference number, visible markings, original-valve photographs, vehicle and engine details, and the connection or block arrangement. Where relevant, also compare port positions, sensing or equalizer details, mounting configuration, and required dimensions.
An OE number can be useful, but an incomplete, damaged or superseded reference should not be treated as final proof by itself. HELLA’s expansion-valve product guidance shows how vehicle and engine data may be used alongside OE identification when searching for a part. It is an example of a catalog method, not a guarantee that one item of vehicle information confirms every application.
Overall appearance should only narrow the possible range. Expansion-valve designs and locations differ: some are accessible in the engine compartment, while others are positioned at the evaporator housing. A similar-looking valve may still have a different connection pattern or function.
Move forward only when the original-part information and the candidate valve agree. If the data conflict or remain incomplete, pause the order and obtain clearer identification details before the refrigerant circuit is opened.
What Must Be Prepared Before Replacing an Expansion Valve?
After the correct replacement valve has been identified, prepare the vehicle, refrigerant circuit and replacement parts together. Confirm the approved repair information for that vehicle, the specified refrigerant, sealing components, compatible oil requirements, access method, and any work required because of the circuit condition.
Expansion-valve replacement can involve opening refrigerant connections. Recover the refrigerant before opening the circuit, using the procedure and equipment required for the application and local regulations. In the United States, paid MVAC servicing requires a Section 609-certified technician and approved refrigerant-handling equipment; the prohibition on intentional refrigerant venting belongs to Clean Air Act Section 608. See the U.S. EPA’s MVAC servicing requirements and its Section 609 certification guidance. Outside the United States, follow the rules that apply where the vehicle is serviced.
For a hybrid or electric vehicle with an electrically driven compressor, stop if the approved high-voltage procedure, oil compatibility, or required technician authorization is unclear. This article does not provide a universal high-voltage isolation procedure because those requirements vary by vehicle.
Proceed only when the replacement configuration, safety requirements, refrigerant handling, seals, oil requirements and repair scope are clear.
How Is a Car AC Expansion Valve Replaced?
The exact car AC expansion valve replacement procedure depends on the vehicle, valve design and access location. The following sequence explains the repair logic; it does not replace the vehicle manufacturer’s procedure.
Access the Valve Without Assuming Its Location
Use the application’s repair information to identify the valve location and the required access work. Some valves can be reached from the engine compartment, while others require access to the evaporator housing.
Do not force lines, fittings or surrounding components to gain access. If the actual arrangement differs from the confirmed part information or repair procedure, stop and return to the identification and preparation stage.
Fit the Confirmed Valve and Sealing Components
Once the refrigerant circuit has been recovered and opened as specified, protect open connections from dirt and moisture. Remove the original valve carefully and inspect the mating surfaces and removed components for evidence that may change the repair scope.
Install the confirmed replacement valve and the sealing components specified for that application. Use the vehicle or component documentation for seal treatment, compatible oil, tightening values and assembly order. There is no universal torque, seal type or oil quantity that can be applied safely across all expansion-valve designs.
The valve, ports and lines should align naturally. If a connection requires force, the port arrangement differs, or the new valve does not seat correctly, stop before tightening. A forced installation can damage the valve, seals or connected components.
Restore the Refrigerant Circuit as Specified
Complete the application’s required integrity or leak-testing, evacuation and recharge process in the sequence specified for that vehicle. Recharge with the refrigerant type and quantity required by the manufacturer, not by a generic article or a value taken from another vehicle.
If abnormal noise, leakage, unexpected system behaviour or an incorrect response appears during initial operation, stop and return to the relevant diagnosis, installation or charging checks before treating the new valve as defective.
How Do You Verify That the Repair Solved the Original Problem?
The final check should reproduce the conditions under which the original A/C problem appeared. If cooling became weak after the vehicle had operated for a period, a brief burst of cool air immediately after service is not enough to confirm success.
Check the refrigerant circuit for leakage and assess cooling performance, compressor operation, airflow and control response using the application’s specified diagnostic information. Record the relevant ambient and operating conditions so that any remaining problem can be evaluated against the same situation that led to the repair.
If the original issue has disappeared and the system responds normally under the required conditions, complete the repair record. If cooling remains poor or unstable, return to the diagnosis. Recheck the part identification, installation, refrigerant charge, airflow, compressor operation and control system rather than assuming that the new expansion valve—or the complete compressor—is automatically at fault.
How Can Expansion Valves Help Distributors and Wholesalers Support Repair Demand?
Expansion-valve demand begins with actual repair needs from workshops and technicians. A distributor or wholesaler does not need to treat every warm-air complaint as a valve sale. The useful role is to help customers move from an identified repair direction to a correctly identified part.
For each valve request, keep the vehicle and engine details together with the original valve’s OE or reference number, photographs, connection information and any necessary dimensions. This makes it easier to distinguish one request from another and reduces the risk of stocking visually similar but different valves under one description.
Some repair requests will move in another direction after diagnosis. A confirmed compressor failure may lead to A/C Compressors; a separately serviceable drive fault may require A/C Compressor Clutches; and a confirmed compressor-control fault may require A/C Compressor Control Valves. These are separate repair paths, not products that should be added automatically to every expansion-valve order.
Where the required part is within the C-Loong range, C-Loong can help review the available identification details to narrow possible expansion-valve matches. Send the vehicle, engine, market, original-part number, photographs, connection details and required quantity in a text inquiry. If closer photographs or dimensions are needed, they can be requested by email after the inquiry is received.
You can also review A/C Expansion Valves before submitting the available identification information. Final matching remains subject to the original-part details and applicable catalog information.
References
- DENSO Aftermarket. Expansion Valves.
- HELLA Tech World. Car Air Conditioning: Diagnosis and Service Information.
- Four Seasons. Why Clean the Expansion Valve When Replacing a Compressor?
- HELLA Tech World. A/C Expansion Valve Product Information.
- U.S. Environmental Protection Agency. Regulatory Requirements for MVAC System Servicing.
- U.S. Environmental Protection Agency. Section 609 Technician Training and Certification Programs.
Confirm Fit & Get a Quote
Share your OE number, vehicle model, or a photo — whatever you have. We’ll match the right part and send you pricing, MOQ, and lead time.
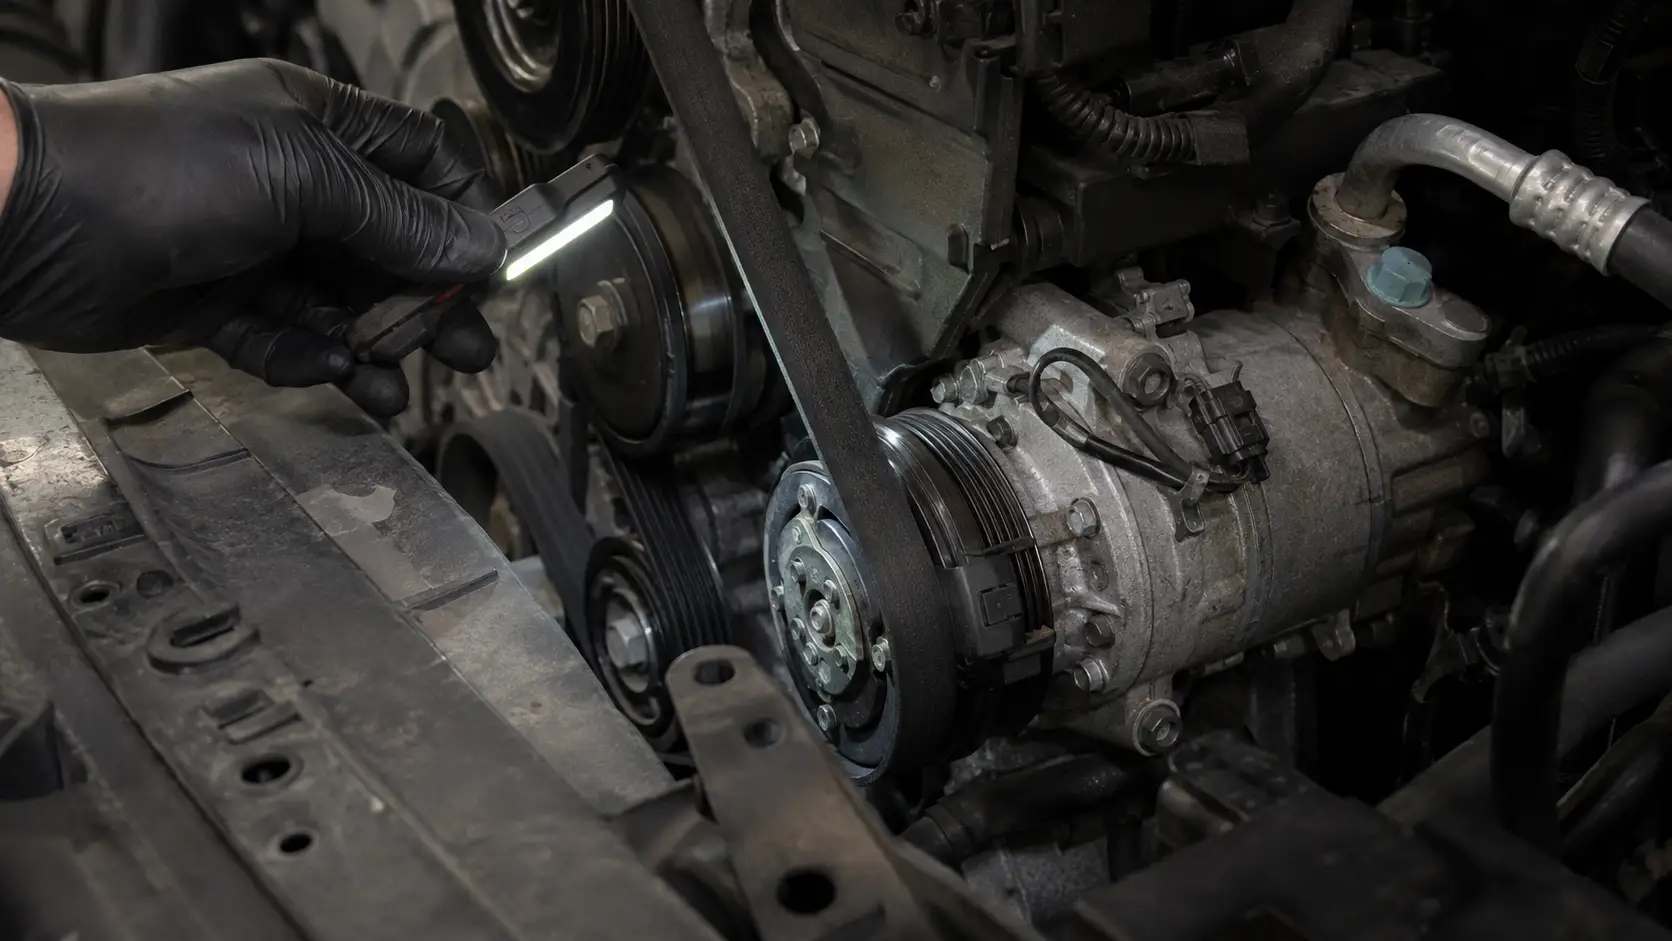
AC Compressor Clutch Replacement Guide | C-Loong
AC Compressor Clutch Replacement: When It Makes Sense and How to Do It Safely By C-Loong Precision Industry (Shenzhen) Co., Ltd AC compressor clutch…
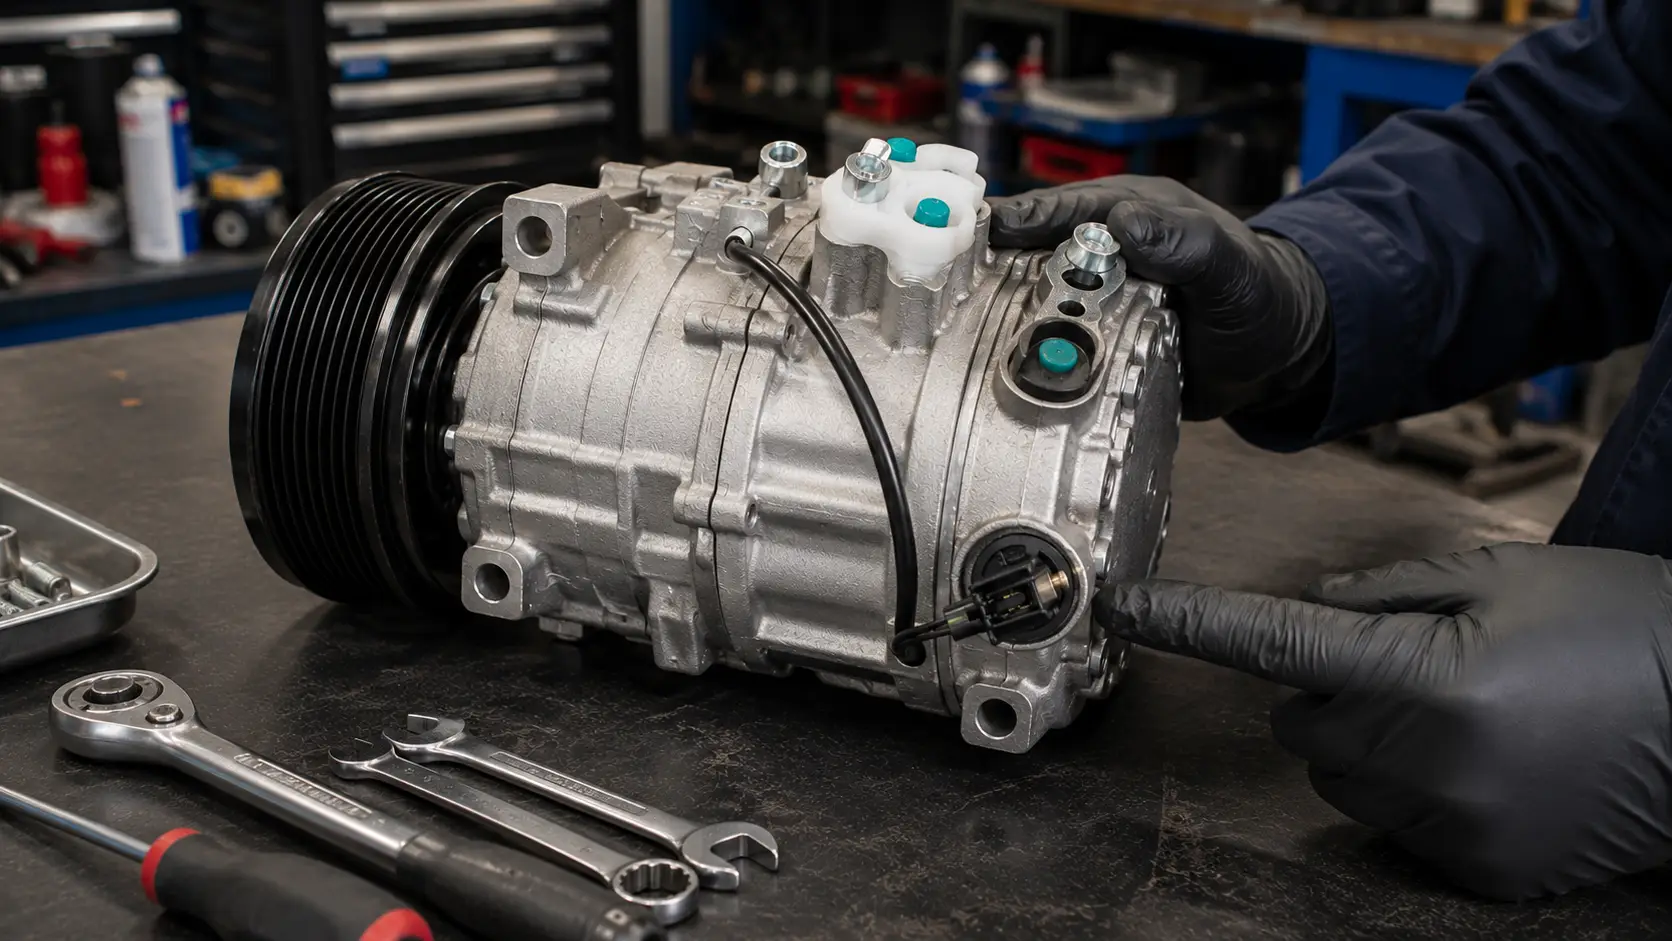
AC Compressor Control Valve Replacement Guide | C-Loong
AC Compressor Control Valve Replacement: When, How and What to Avoid By C-Loong Precision Industry (Shenzhen) Co., Ltd AC compressor control valve replacement is…
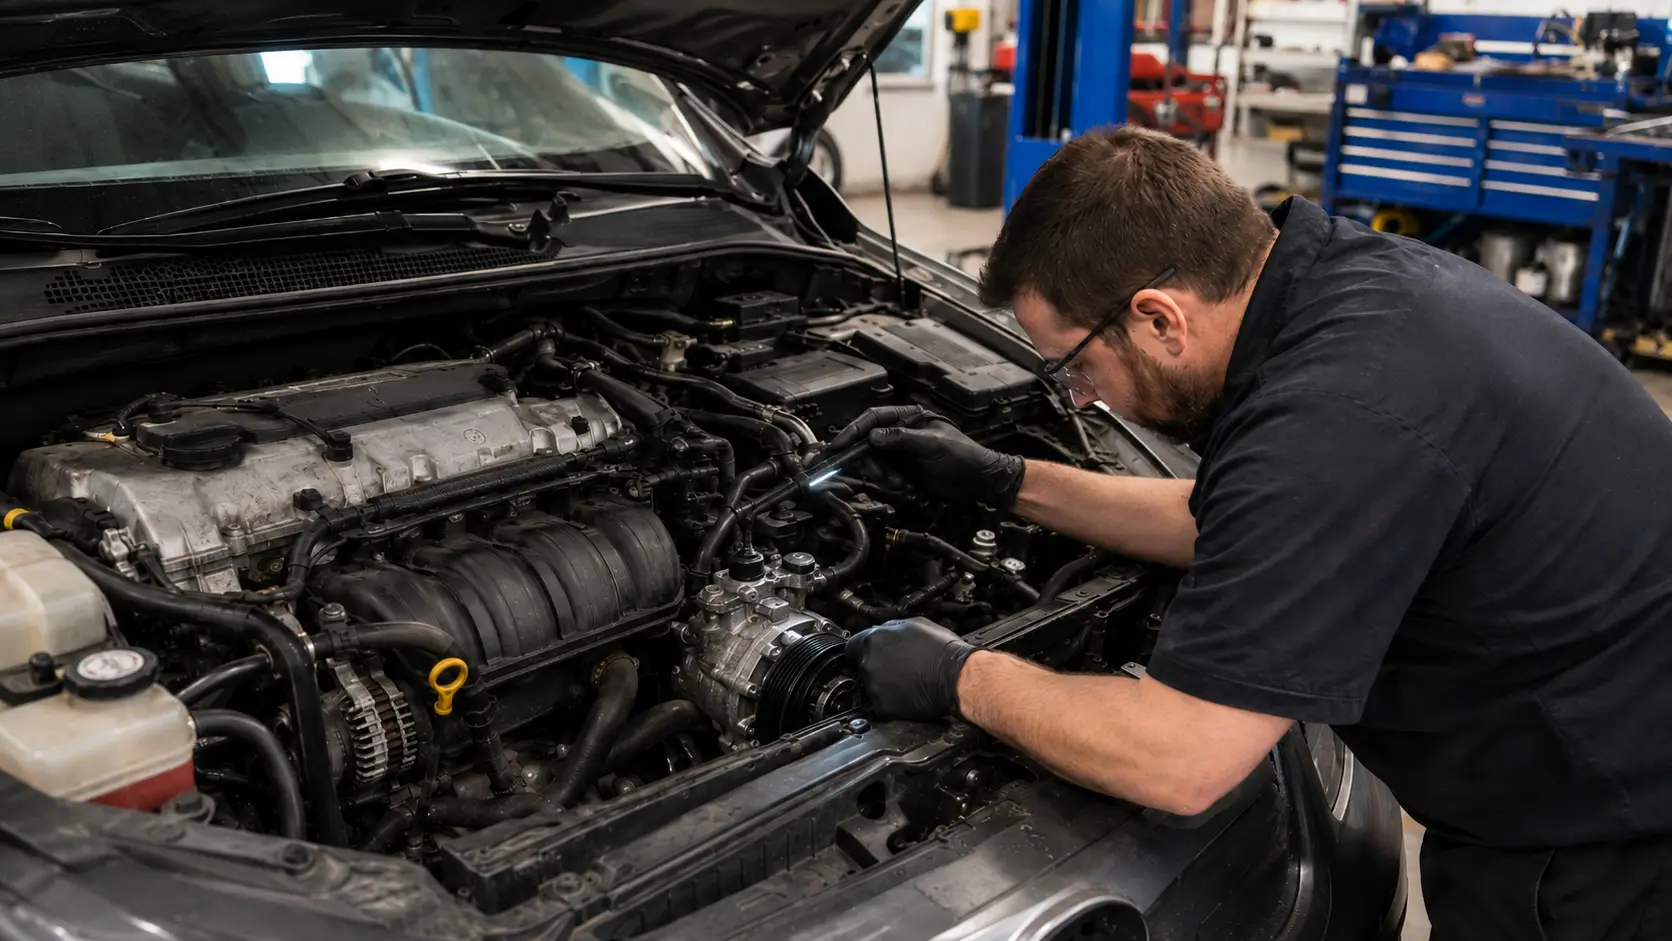
Car AC Compressor Replacement Guide | C-Loong
Car AC Compressor Replacement: When to Replace and How to Do It Right By C-Loong Precision Industry (Shenzhen) Co., Ltd Car AC compressor replacement…