
Address
Building 34, Taixing Industrial Zone, Hongxing Community, Songgang Street, Bao’an District, Shenzhen, Guangdong 518105, China



Car AC Compressor Replacement: When to Replace and How to Do It Right
By C-Loong Precision Industry (Shenzhen) Co., Ltd
Car AC compressor replacement should only begin after diagnosis confirms that the compressor itself is the source of the fault and rules out other separately serviceable A/C components. Once replacement is necessary, the workshop must determine whether the failure has affected the refrigerant circuit, identify the correct replacement compressor, prepare the system, and complete the installation correctly. Final checks then confirm that refrigerant charge, cooling performance, pressures, and compressor operation are within the expected range before the vehicle is returned to service.
Page Contents
Product Categories
When Should Car AC Compressor Replacement Be Considered?
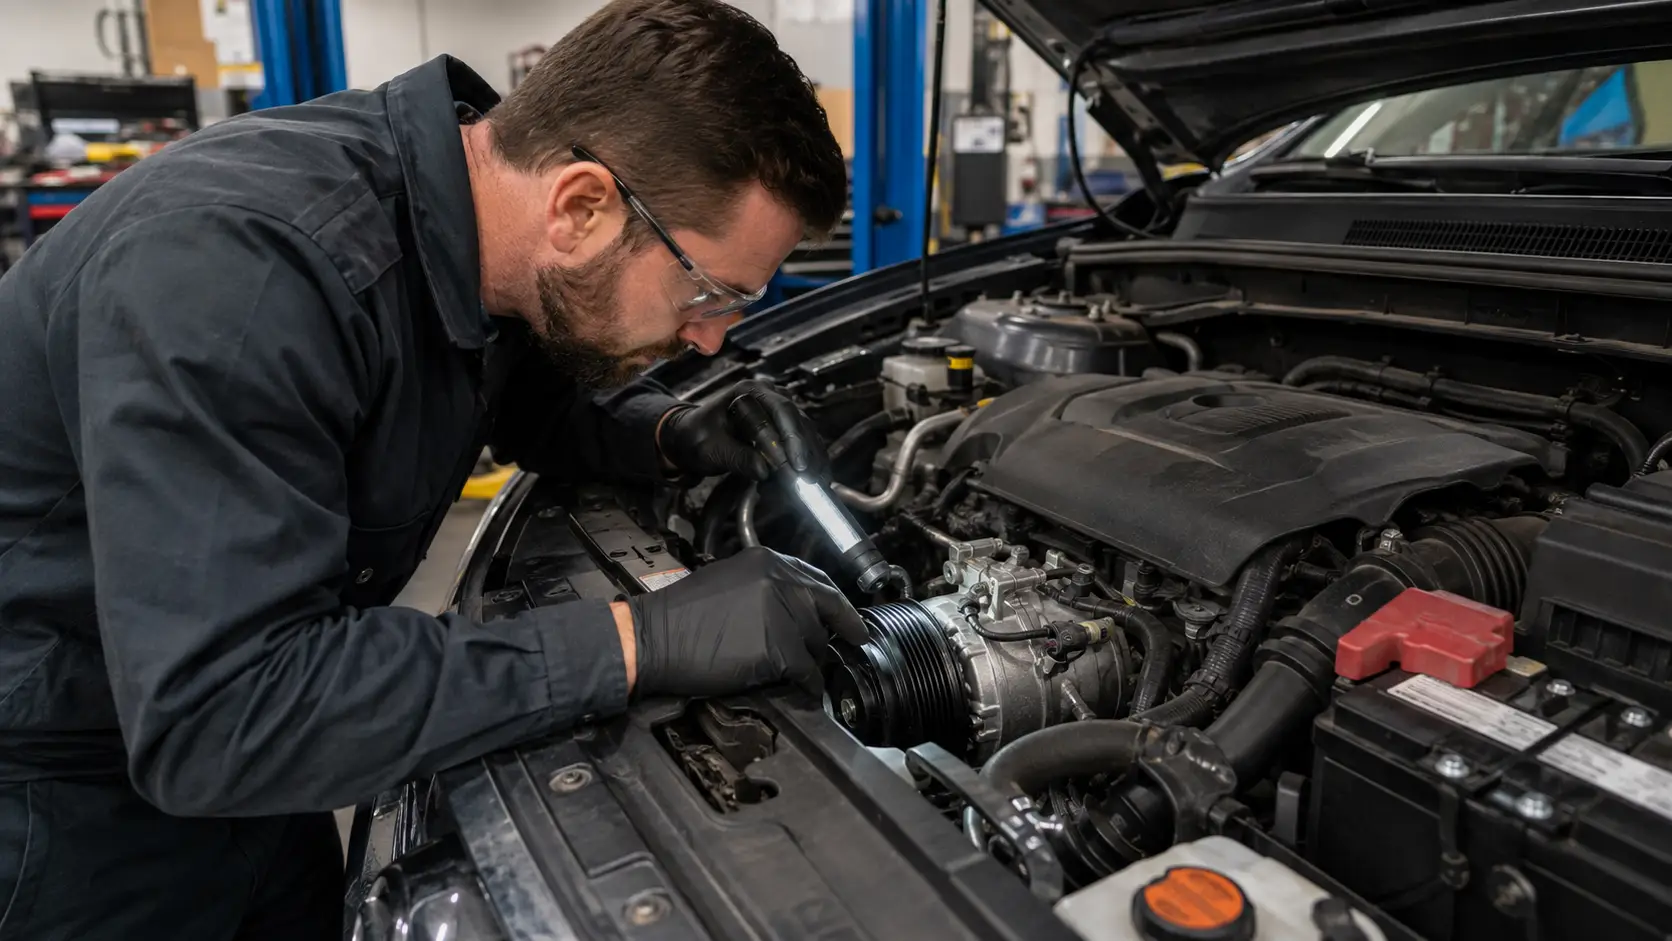
Car AC compressor replacement should be considered when the A/C system shows signs that may involve the compressor, such as weak or inconsistent cooling, abnormal noise from the compressor area, visible leakage around the compressor, or abnormal drive-system behavior. These signs explain why the compressor needs to be investigated, especially when the A/C problem affects normal vehicle use.
They do not, however, prove that the complete compressor has failed. Low refrigerant charge, poor condenser airflow, belt-drive problems, electrical or control faults, and refrigerant-circuit restrictions can produce similar symptoms. At this stage, do not order or remove a compressor. Use the symptoms to decide what must be tested next.
How Do You Confirm Whether the Compressor Needs Replacement or Repair?
Confirm the decision in two stages. First, establish whether the A/C problem is actually caused by the compressor rather than by refrigerant charge, airflow, drive-system, electrical-control or circuit conditions. Test the system under known operating conditions and record the relevant ambient conditions, engine speed, airflow and compressor-control state. A single pressure reading or a brief cooling check cannot confirm compressor failure by itself.
Next, determine whether the confirmed fault can be repaired separately. Depending on the compressor design and the applicable repair procedure, the clutch, pulley, coil or external control valve may be serviceable without replacing the complete compressor. A separate repair remains possible only when the failed component is serviceable for that application and there is no evidence of internal compressor damage or contamination that changes the repair scope.
Complete replacement becomes the correct direction when diagnosis confirms an internal or non-serviceable compressor fault, or a compressor leak that cannot be repaired separately. If the evidence remains incomplete, continue diagnosis with Car AC Compressor Failure Symptoms. If the evidence points to a separately serviceable compressor-control component, continue with A/C Compressor Control Valve Symptoms rather than ordering a complete compressor.
What Must Be Prepared Before a Car AC Compressor Replacement?
Once the decision to replace the compressor is confirmed, do not open the refrigerant circuit immediately. First prepare the repair scope, the exact replacement unit, the required service materials and the application-specific procedure. This preparation helps prevent a correct replacement compressor from being installed into an unresolved system problem.
Start with the condition of the old compressor and refrigerant circuit. A localized external fault may require a different response from internal seizure, black residue, incompatible oil, unknown additives or metal particles. Where the approved procedure permits, plan to inspect the accessible ports and the oil drained from the old compressor after removal. Clean-looking oil does not prove that every part of the circuit is clean, but visible contamination is a reason to pause and determine what else the application requires before the new unit is connected.
The preparation must also address the condition that caused the original compressor failure. A restriction, unresolved control fault, poor heat rejection or remaining contamination can still be present after the compressor is changed. If that condition is left in place, the new unit may be exposed to the same operating problem.
Prepare for the Replacement Based on the System Condition
There is no supplier-independent list of parts or flushing steps that applies to every compressor replacement. MAHLE’s automotive A/C guide calls for system flushing when replacing a defective compressor, while identifying compressors, filter-driers or accumulators, and expansion or throttle valves as parts that are not flushed under its procedure.
DENSO’s A/C Compressor Installation Guide uses a condition-based path: a clean circuit with the correct oil and no unapproved additives follows a different procedure from one containing incorrect oil, black residue, metal particles or leak-stop material. In the severe conditions defined by DENSO, flushing is not considered sufficient. These are DENSO procedures, not universal instructions.
Next, confirm the exact replacement compressor and obtain the vehicle and compressor instructions. Prepare the specified seals for every joint opened during the repair, verify the refrigerant and oil requirements, and arrange compliant refrigerant recovery before any line is disconnected. If contamination treatment, replacement configuration, oil, refrigerant or safety requirements remain uncertain, stop before ordering or installing the compressor.
How Do You Confirm the Correct Replacement Compressor?
Once the repair scope is clear, confirm the replacement compressor before placing the order or opening the refrigerant circuit. Vehicle make, model, year and engine are useful starting points, but they may not identify one unique compressor. Similar housings can still have different connectors, ports, pulleys, mounting arrangements or control designs.
Start with the original compressor label and its OE or reference number. Then compare the electrical connector and locking arrangement, suction and discharge port layout, pulley diameter and groove configuration, clutch or hub design, and mounting points. Compare the old and possible replacement units in the same orientation so that a mirrored photograph, hidden port or different viewing angle does not create a false match.
An incomplete, damaged or superseded number should not be treated as conclusive by itself. Clear close-up photographs can help resolve conflicts, but overall appearance should only narrow the possible range. The replacement should move forward only when the identification data and physical configuration agree.
Why a Similar Compressor Still Needs a Closer Check
Vehicle details and an overall compressor photograph are useful because they help narrow the possible range. In one pre-order matching review, this initial information reduced the number of possible compressor matches, but it did not identify one compressor with enough certainty to place an order. More than one possible replacement unit still looked similar from the outside.
The next step was not to choose the closest-looking housing. Instead, we requested the details that could confirm or rule out each possible match: the original compressor label and reference number, electrical connector, suction and discharge ports, pulley, and mounting arrangement. These checks answer a different question from vehicle information: whether the possible replacement unit is actually configured like the original compressor.
The closer comparison then provided a clear reason to stop. One visually similar replacement unit used a different electrical connector, so it was excluded before shipment. The purpose of this review was not to diagnose the vehicle or predict a repair result. It was to prevent a part that looked similar from being treated as interchangeable.
How Should the Old Compressor Be Removed and the New One Installed?
After the replacement unit has been confirmed, the car AC compressor replacement can move into the removal and installation stage. Use the vehicle repair manual and the replacement compressor manufacturer’s installation instructions to determine access, electrical precautions, removal order, required tools, seal requirements, tightening sequence and tightening values. These details vary by vehicle and compressor design, so a bolt count, removal direction or torque value from another application should not be reused.
Recover the refrigerant before opening the circuit. For paid MVAC service in the United States, this work requires a Section 609-certified technician and approved refrigerant-handling equipment. Outside the United States, follow the refrigerant-handling rules that apply where the vehicle is serviced.
Next, follow the removal order stated in the vehicle repair manual for the electrical connection, drive belt and refrigerant lines. Cap open lines and ports promptly to reduce the risk of moisture or workshop debris entering the system. DENSO’s A/C Compressor Installation Guide also instructs installers to cap open fittings during compressor installation.
Before fitting the new compressor, inspect the mounting bracket, belt, tensioner and pulley alignment. Damage, wear or misalignment in the drive system can create noise or load that may later be mistaken for a compressor problem.
Position the replacement compressor without using the mounting bolts to pull the housing into alignment. The mounting points, refrigerant lines and electrical connector should meet naturally. If a line must be twisted or stretched, a connector will not lock correctly, or the mounting points do not align, stop the installation and return to the matching stage rather than modifying the surrounding parts.
Once the compressor is correctly positioned, use the seals, tightening sequence and tightening values listed for that vehicle and compressor installation. After the mechanical and electrical connections have been checked, the refrigerant circuit can move to restoration and final testing.
How Should the A/C System Be Restored After Compressor Replacement?
After the mechanical and electrical connections have been checked, restore the refrigerant circuit according to the vehicle repair manual and the replacement compressor instructions. A car AC compressor replacement is not complete when the new unit is bolted into place; the system must be returned to its required sealed, evacuated and charged condition before its operation can be assessed.
Follow the application’s specified sequence for any integrity or leak testing and evacuation, then recharge the system with the specified refrigerant and the specified mass. Do not use a general charging amount, pressure target or evacuation time taken from another vehicle. Refrigerant type, charge quantity and service procedure can differ between applications.
Before the first start, check that the electrical connector is fully locked, the belt follows the correct route and the drive system moves normally. Where the replacement compressor manufacturer provides a start-up or run-in procedure, use it only for the compressor and application it covers. DENSO’s A/C Compressor Installation Guide provides its own installation and start-up requirements for applicable DENSO compressors; it should not be treated as a universal procedure for every brand.
Start the system according to the vehicle procedure and watch for abnormal noise, belt movement, leak indications or a system response that does not match the expected operating condition. If an abnormal condition appears, stop the test and return to the installation, refrigerant-charge or original fault checks. Do not continue operating the system simply to see whether the new compressor will settle.
How Do You Verify That the Original A/C Problem Has Been Resolved?
The final check for a car AC compressor replacement should return to the condition that led to the repair. A brief period of cool air is not enough to show that the original A/C problem has been corrected.
Run the A/C system under relevant operating conditions and compare its behavior with the original problem. Record the ambient conditions, engine speed, blower setting, selected cabin temperature and other conditions that affect the test. This makes the result easier to interpret if the fault was intermittent or occurred only under load.
Check for refrigerant leaks, abnormal compressor noise, belt movement, condenser-fan operation and the expected compressor command or clutch operation for the application. Where the vehicle procedure calls for pressure or temperature checks, compare the response with that application’s requirements rather than applying a generic target from another vehicle.
The repair can move to completion only when the original A/C problem no longer appears and the system responds normally under the tested conditions. Record the repair work, replacement-part identification and relevant test conditions before the vehicle is returned.
If the original A/C problem remains, do not assume that the new compressor has failed. Return to the earlier decisions: confirm the original diagnosis, compressor match, installation, refrigerant charge, refrigerant circuit condition and electrical or control system.
Need B2B Support for a Replacement Compressor Order?
C-Loong is a manufacturer supplying automotive A/C parts for B2B customers, including distributors, importers, wholesalers and repair-parts businesses. If a replacement compressor has been identified but the final configuration still needs confirmation, we can help compare the available vehicle and original-part information before the order moves forward.
Send the vehicle make, model, year, engine and market, together with the original compressor label, OE or reference number, connector, ports, pulley, mounting details and required quantity. Vehicle information and overall photographs can narrow the range, while the original part identification and physical configuration help confirm the possible replacement unit.
For B2B orders, the usual MOQ is 20 units per model. Typical lead time is 7–15 days, depending on the model, quantity, stock status and order requirements. When the required model is in stock and the order conditions are complete, same-day dispatch may be possible.
Products are manufactured within an ISO 9001 quality-management system. Packaging, labels and any project-specific requirements should be confirmed before the order is finalized.
The inquiry form accepts text information first. If photographs are needed for a closer comparison, the C-Loong team can request them by email after the inquiry is received. You can also review Automotive A/C Compressors before submitting the available identification details.
References
Confirm Fit & Get a Quote
Share your OE number, vehicle model, or a photo — whatever you have. We’ll match the right part and send you pricing, MOQ, and lead time.
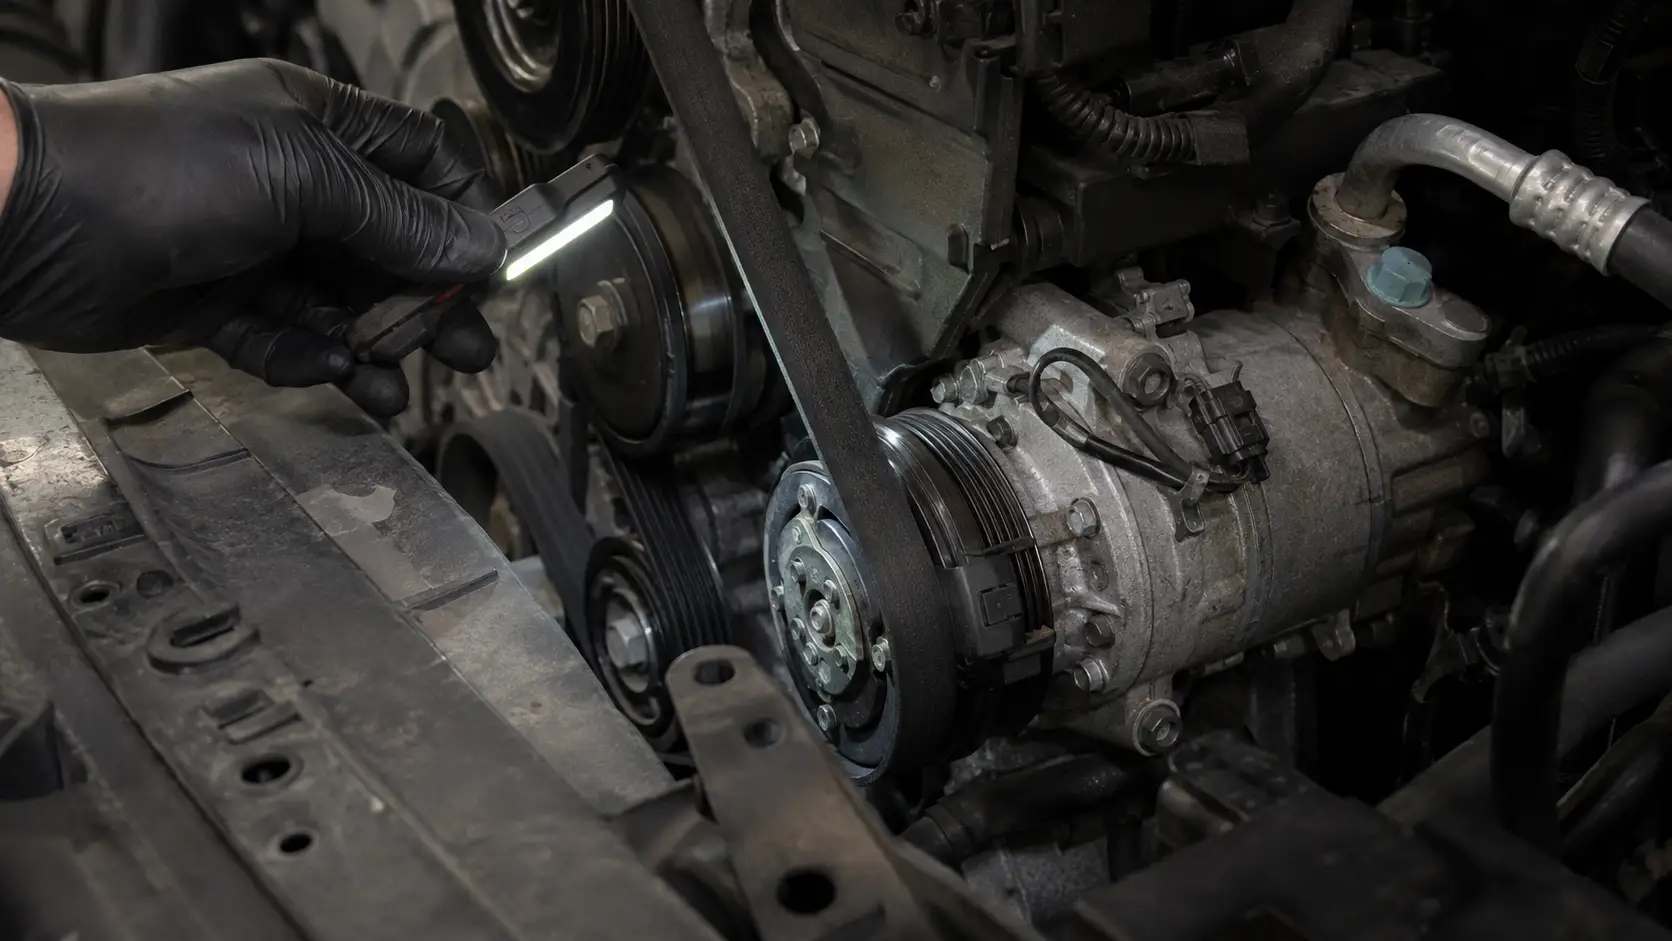
AC Compressor Clutch Replacement Guide | C-Loong
AC Compressor Clutch Replacement: When It Makes Sense and How to Do It Safely By C-Loong Precision Industry (Shenzhen) Co., Ltd AC compressor clutch…
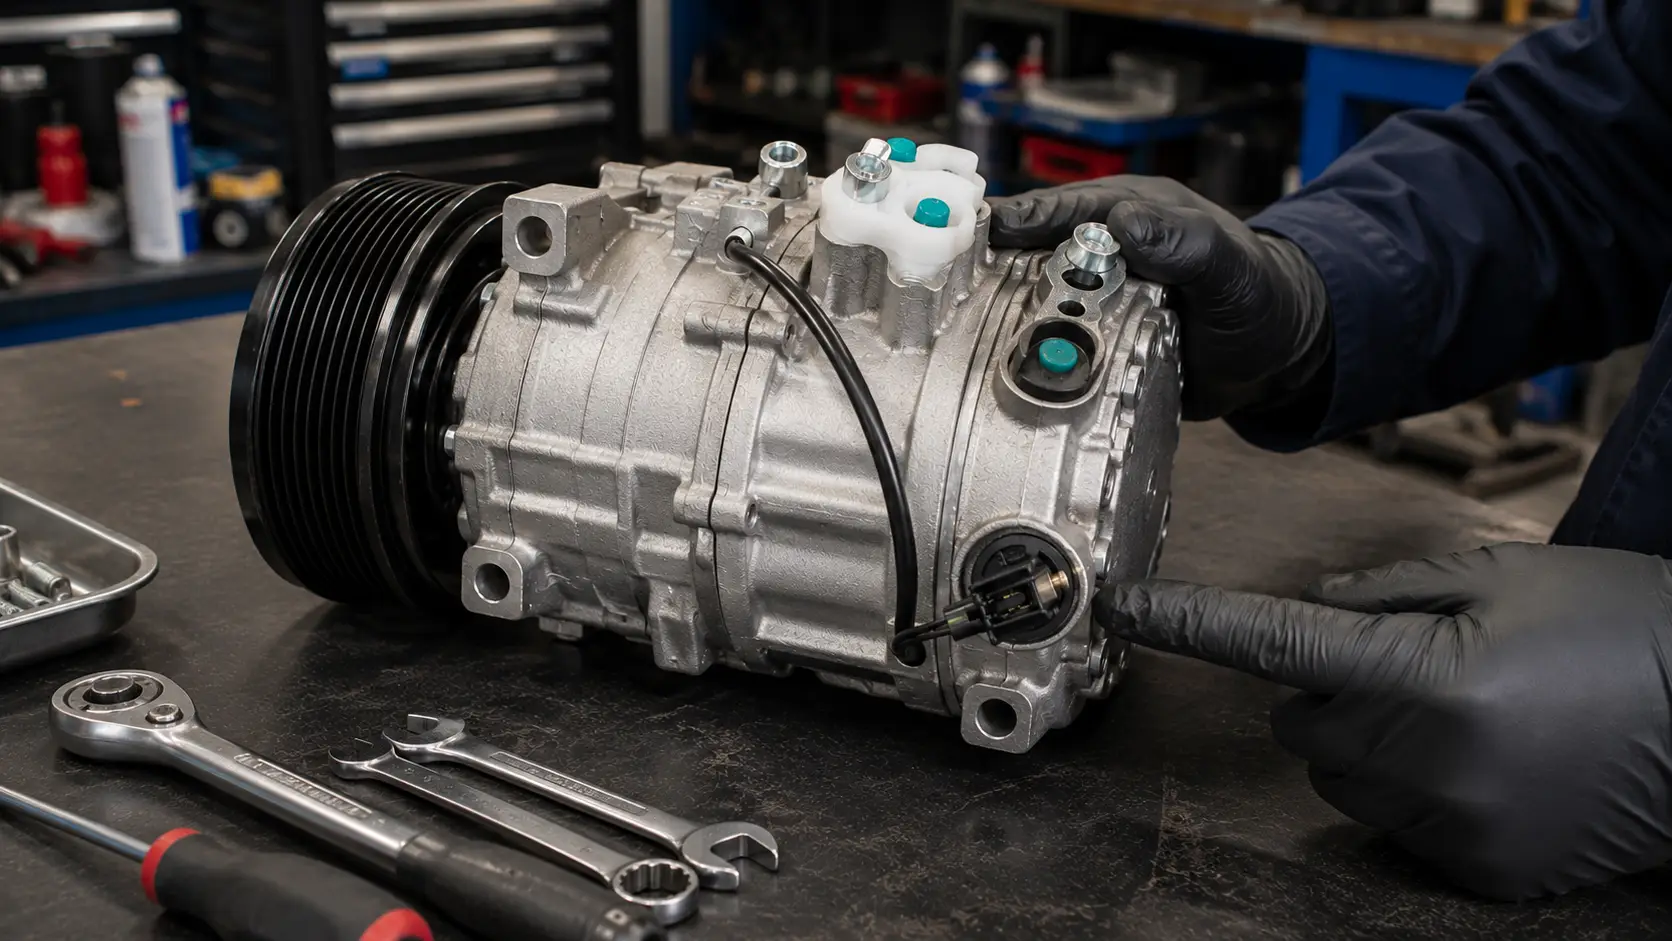
AC Compressor Control Valve Replacement Guide | C-Loong
AC Compressor Control Valve Replacement: When, How and What to Avoid By C-Loong Precision Industry (Shenzhen) Co., Ltd AC compressor control valve replacement is…
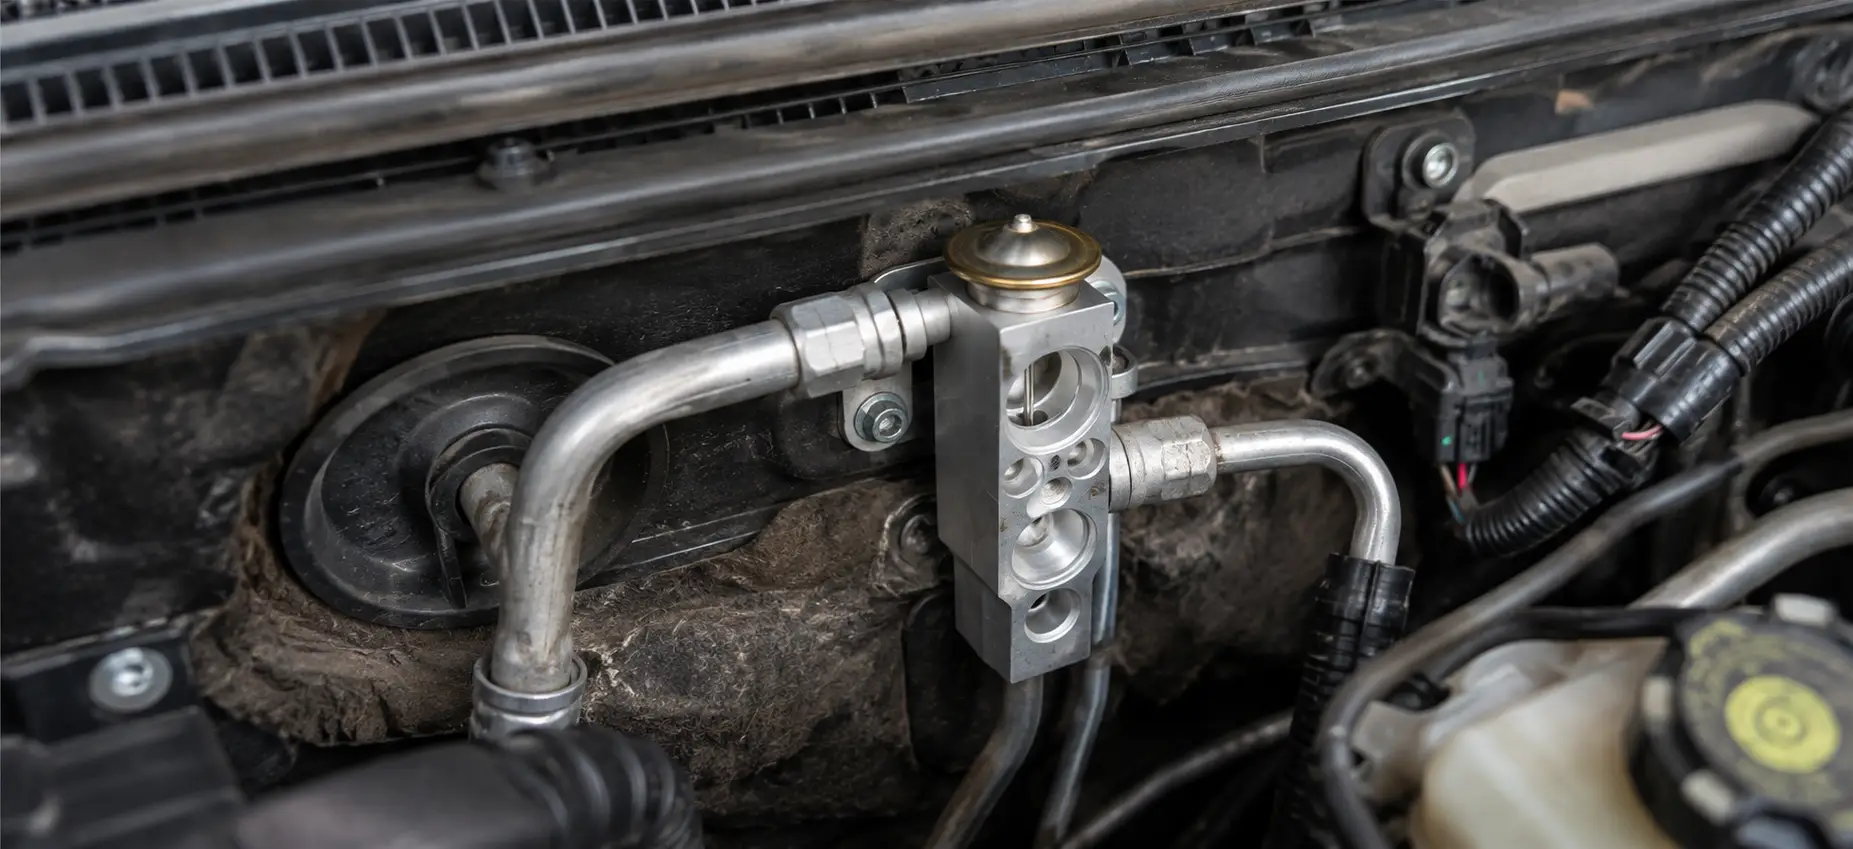
Car AC Expansion Valve Replacement Guide | C-Loong
Car AC Expansion Valve Replacement: When and How to Do It Safely By C-Loong Precision Industry (Shenzhen) Co., Ltd When a car’s A/C starts…